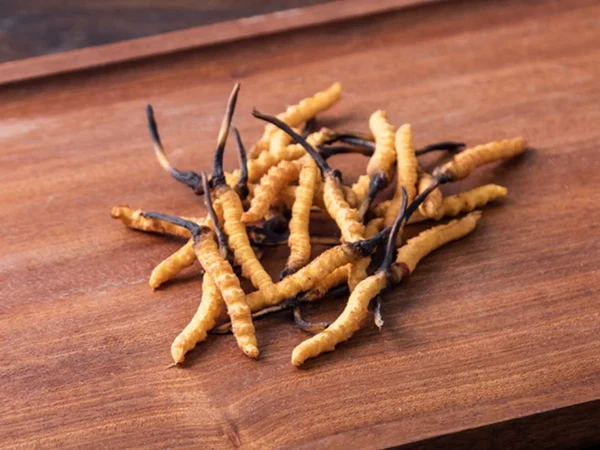
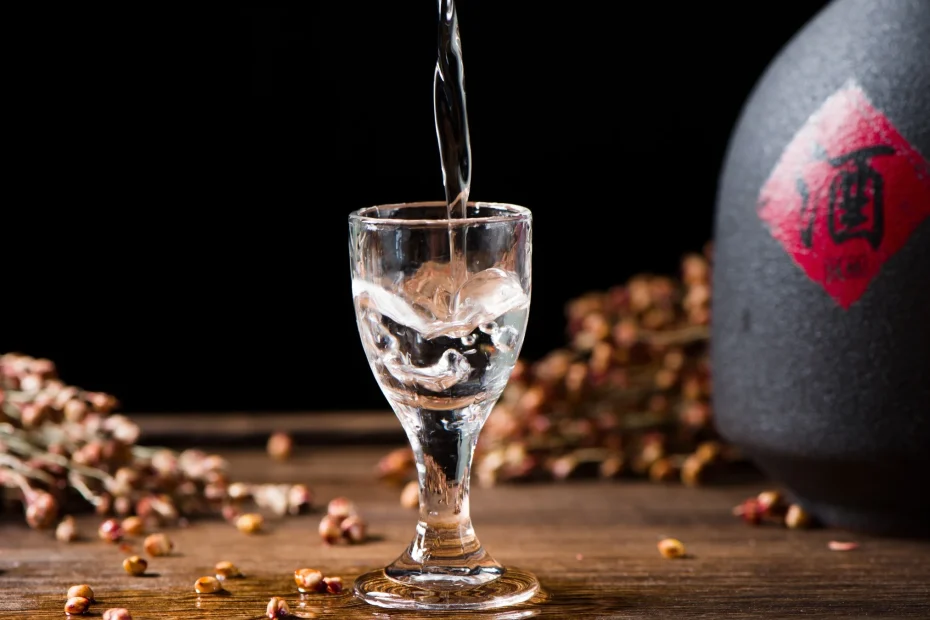
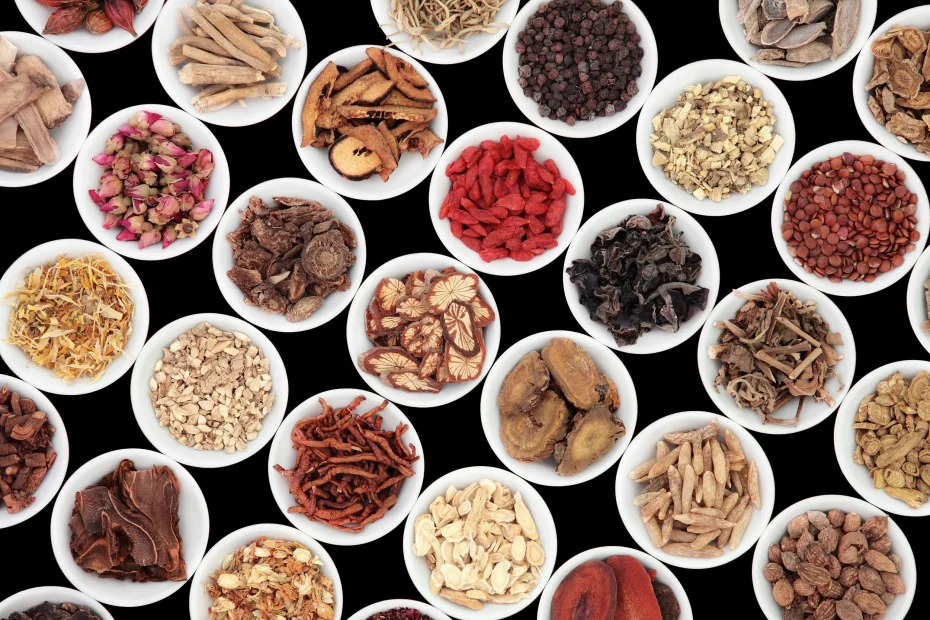
Recent Comments
Origami Diamond (1)
01/04/2013 - 09:46
Cardboard Toilet Paper Roll Caterpillar (1)
12/23/2012 - 00:56
Origami Fan (1)
12/21/2012 - 11:20
Origami Dinosaur (1)
12/13/2012 - 01:39
Origami Star Box (1)
12/09/2012 - 11:53
Craft Ideas
- Crafts by Age
- Holiday Crafts
Hello and welcome to my site. My name is Olga and I love everything crafty. I especially love making crafts with my daughter Ann. Here you can find lots of tutorials about simple crafts that you can make with your kids. If you have any questions, please do not hesitate to contact me.
Paper Plate Butterfly - 1
Summer gives us high spirits and paints the world around with in bright colors. Can we preserve a piece of this season? It is not that difficult, just make a wonderful butterfly from … paper plates!
A developmental project for kids of making paper plate crafts is a wonderful opportunity to occupy your child with a useful and fascinating activity, as unusual materials for handcrafting especially attract children.
Tools and Materials:
- 2 paper plates
- a glue gun
- a black marker
- scissors
- yellow, black, red, blue acrylic paints
- a brush
Step-by-step instructions:
1
Prepare 2 paper plates for your work. But you’d better have two more plates in case the kid still can’t use the scissors easily.
Draw a curved line of any kind in the middle of the first plate. These will be the workpieces for the wings.
Draw the antennae in the center of the second plate.
Then let’s turn to the raised plate edge. Outline it within the half of the plate drawing oval curves at the bottom and on top.
2
Cut the workpieces according the drawn lines. Put the wings and the antennae aside while the next stage will be devoted to the butterfly body making.
7
When the glue is dried, shape the even lower part as an oval. To make implementing this step easier for the kid you can draw an oval with a marker and cut it along the line.
8
To make the butterfly bright decorate the workpieces with acrylic paints. Apply bright yellow paint to the wings workpieces and black paint - to the workpieces of antennae and body.
9
You may apply an original embellishment to the wings by means of your own fingers dipping them in red and blue paints.
10
Decorate the first wing, leaving various colorful fingerprints-circles on it. Don’t spare the paint for the circles to be of a rich color.
11
Then ornament the second wing. Mind that in the amount of circles the wings look symmetrical. So accomplishing this work the kid will train his ability to tell distance by looking well.
16
Stick the second wing symmetrically.
An excellent craft is finished! Such a butterfly will gladden with its bright attire in any weather, even if it is cloudy or it rains outside.
